Recycled Rebel Symbol
- Aug 19, 2017
- 3 min read

Calling all rebels! The resistance needs you make their logo...out magazines! Yes, this week's DIY is Earth friendly, and super fun to make. So get your magazines and let's get started!

Let's talk materials:
- 1-2 magazines
- cardboard
- blue, black, and white acrylic paints
- one medium sized paint brush
- hot glue gun
- tape
- scissors
- paper plate or palette
- pencil
- marker
- large bowl
- command hooks or old wire hanger
Let's begin!
**Coils. You're going to need to make about 140 magazine coils for the logo. I used 130, but it it helps to have extra. Feel free to make a few more, just in case. If you would like to make the logo smaller, just reduce the amount of coils you create. Although this is time consuming, it has a nice rhythm to it. Go ahead and do these while watching a Star Wars movie.**
1. To make a coil, take your magazine and cut out its pages out. According to my calculations, you'll need 280 pages. Cut each page in half vertically.
2. Next, take one of the halved sheets and lay it down before you horizontally on a flat surface. Pick up one side of the strip and fold it inward toward the center of the strip. Do the same thing to the other side of the strip.


3. Pick up another side of the folded strip and crease it over to the top of the opposite edge. Do this again. This should leave you with a thin strip.

4. To create the coil shape, we need to roll the strip. Start at one end of the thin strip and tightly roll it until a coil has formed. Once you have finished, secure the end to itself with a small piece of tape

**Confused? Check out the video below**
5. YAY! You made your first coil! Now you need to make 139 more. You can do it! (steps 1-4)

6. Once you have made those coils, it’s time to start creating the logo. Let’s begin with the cardboard. It can be any size, as long as it’s larger than your bowl. I made mine a square with one foot measurement for all sides. Take your bowl and center it upside down on the cardboard. Trace with your pencil.

7. The circle you drew is a perfect start to create the logo. I printed a picture of the rebellion symbol and used the circle as a guide to where to make the details at the top. Once you are satisfied with the shape, darken the lines with the marker and erase the pencil marks. These lines won’t be visible in the finished product.

8. Now it’s time to plan where the coils will be glued. Start filling in the logo with the coils. I started from the top and worked my way down. This takes time and a lot of rearranging, so be patient.


9. Once everything is set you can start gluing it all down. Take your hot glue gun and apply a heaping glob of glue to the bottom of the coil, then place it down onto the cardboard and push gently. Continue this process until all the coils are glued down and secure.


10. To secure the coils in the shape, outline the logo with the hot glue, making sure the glue touches both the coil and the surface of the cardboard.
11. Time to paint! On your palette or plate, mix the black and blue paint together to produce a dark blue. Cover the surface of the cardboard with the paint mixture, being careful not to paint the logo. Paint 2-3 coats. Make sure to let the coats dry before adding another.

12. In a paper plate, mix white paint and a few drops of water until the paint is slightly watered down. Cover your brush with the paint-water mixture and use your thumb to pull the bristles toward you. This creates a splatter. Make sure to be close enough to the surface to get it on your dark blue cardboard. You can also fling the paint at the carboard with your paintbrush. Both methods work.


13. Once you are satisfied with the splatters, let the whole piece dry.
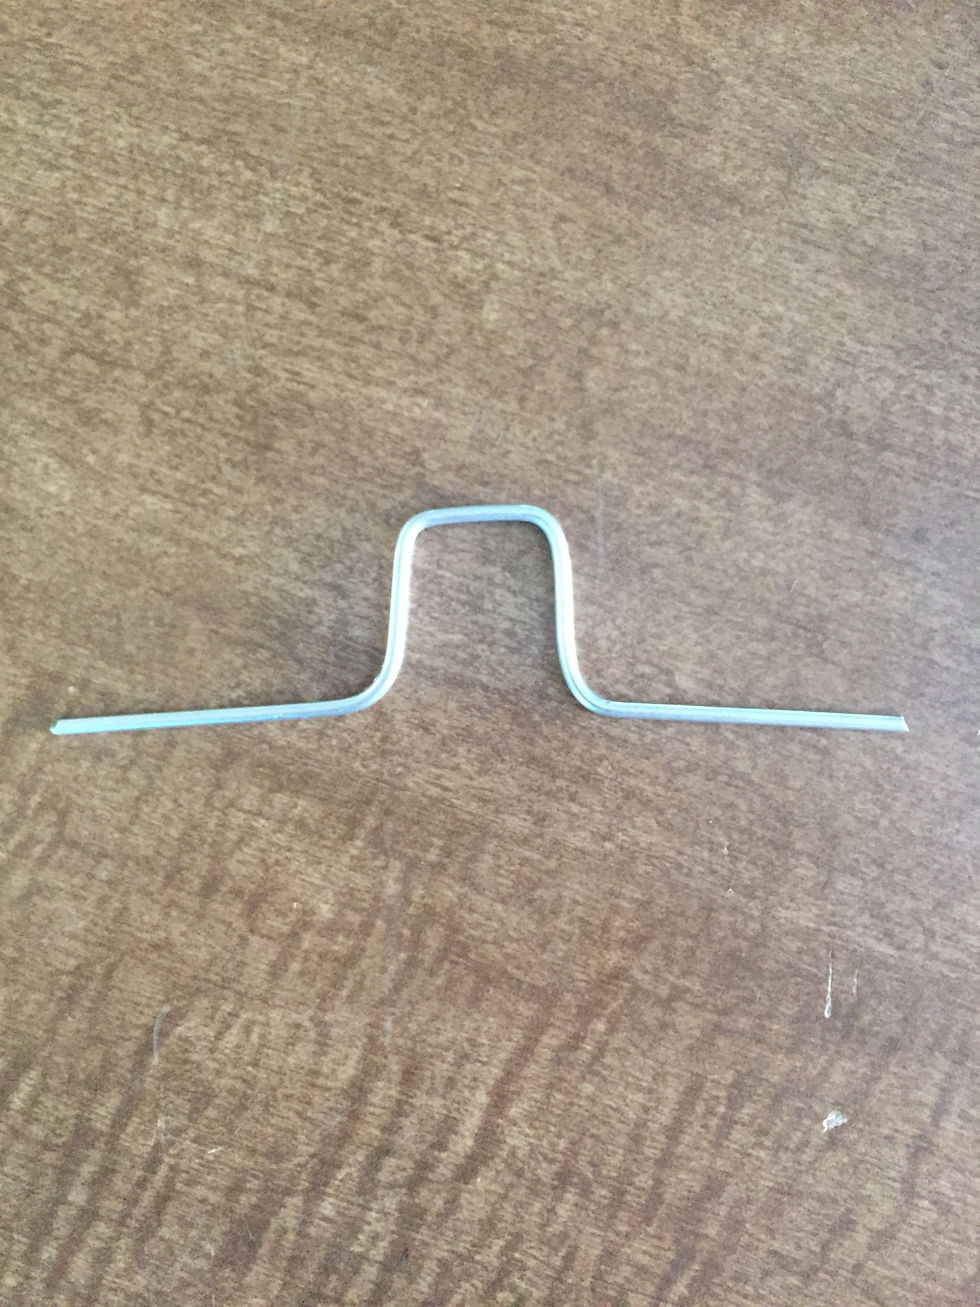
14. To attach your masterpiece to the wall, use command hooks. If those aren’t available for you, take an old wire hanger and cut a small piece. Use pliers to bend the shape like shown below. Duct tape will help attach the wire to the back of the cardboard. Make sure you tape it at angle. Attach it to a hook already hanging on the wall or add one of your own.

You’re done! Although this DIY was time consuming, I love the finished product and It was so fun to create! How did it go for you? Contact me your results or any questions you have!
May the force be with you!

Helpful Links:
Command hooks:
https://www.amazon.com/Command-Utility-Medium-6-Hooks-17001-6ES/dp/B000FSORW4/ref=sr_1_4?ie=UTF8&qid=1503175803&sr=8-4&keywords=command+hooks
Comments